
Water Softener Leaking From the Bottom? How to Find the Source Tonight
It is 9pm, there is water on your basement floor, and you need two answers fast: is this the softener, and can it wait until morning. If you found your water softener leaking from the bottom, the good news is that most of these leaks come from a short list of sources, and you can narrow it down yourself in about twenty minutes with a flashlight and a towel. This guide walks you through it step by step, including how to tell a drain line problem from the one failure that cannot be fixed, a ruptured tank.
One thing up front. Water at the base of the unit does not mean the leak started at the bottom. Water runs downhill, so a drip at the control head or the valve-to-tank joint ends up as a puddle underneath. Your job tonight is to stop the water, then trace it uphill to where it actually starts.
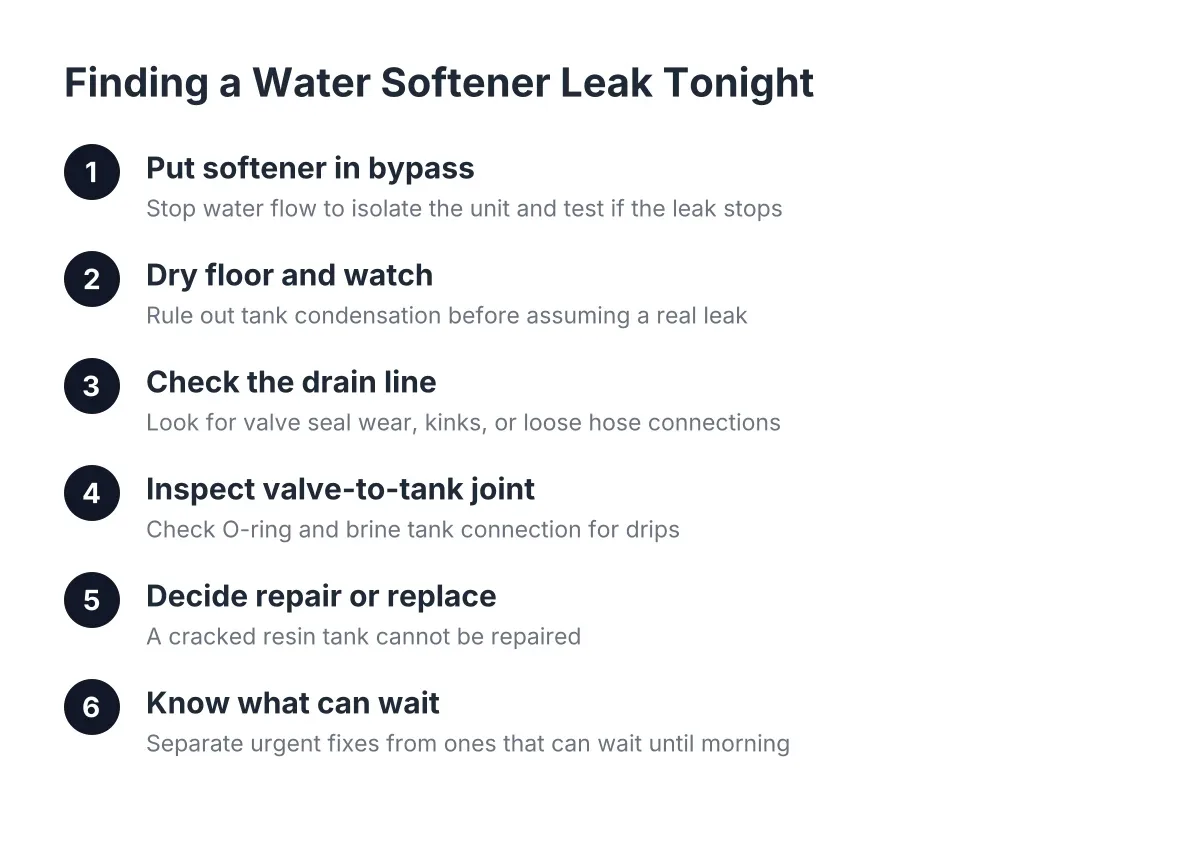
Step 1: Put the Softener in Bypass and Stop the Water
First, find the bypass valve. It sits where the plumbing meets the control head on top of the resin tank. On most units it is a knob, lever, or push-button that reads "bypass" and "service." Switch it to bypass. This sends water straight through to the house and cuts the softener out of the loop, so you still have running water tonight; it is just hard water for now.
According to InspectAPedia, most softener installs also have dedicated inlet and outlet valves separate from the main house shutoff, so you can isolate the unit without cutting water to the whole house. If your bypass is stuck or corroded, which is common on original equipment in pre-1980 Minneapolis homes, close those inlet and outlet valves instead. If you have neither, shut off the main as a last resort.
Then unplug the control head. You do not want the unit trying to regenerate while it is isolated.
Here is the useful part: bypass mode is also a diagnostic tool. If the leak stops within a few minutes of bypassing, the problem is inside the softener. If water keeps coming, you are likely looking at a house plumbing leak near the softener, not a softener leak at all, and that changes who you call.
Step 2: Dry the Floor and Watch Where Water Reappears
Next, towel up the puddle completely and dry the outside of both tanks. Lay down a few sheets of newspaper or paper towel around the base. Then take the unit out of bypass for a minute or two and watch.
This step matters because the most common "leak" on a softener is not a leak at all. Cold water flowing through an uninsulated resin tank makes the tank sweat, especially in a humid Minnesota basement in summer. Condensation drips down the tank and pools underneath, and it looks exactly like a water softener leaking from the bottom. If the tank is evenly damp all over with no single wet trail, and the puddle builds slowly, you are probably looking at sweat, not a rupture. A tank jacket or a dehumidifier fixes that, not a repair bill.
If a distinct wet trail reappears, follow it up. The real source is almost always one of the spots in the next three steps.
Step 3: Check the Drain Line and Inspect for a Water Softener Leaking from Bottom
A water softener leaking from the drain line is one of the most common findings, and it points to specific causes. Every softener has a drain line that carries rinse water away during regeneration. A water softener leaking from the bottom can result from several issues in this system. Check three things:
- Is water running to the drain right now, outside a regeneration cycle? Water continuously flowing to the drain while the softener sits in service usually means the control valve needs a rebuild. A worn or torn piston seal inside the valve lets water slip past constantly. This is a repairable problem; a seal and piston kit fixes it without replacing the unit.
- Is the drain line kinked, clogged, or frozen? In Minnesota basements and garages, a drain line that runs near a rim joist or an uninsulated wall can freeze in January. A blocked drain line backs water up into the brine tank until it leaks from the overflow fitting on the side.
- Is the hose connection loose or split? Drain tubing gets brittle with age. A cracked barb fitting or a loose clamp sprays during regeneration, which is why some leaks only show up overnight, right when the unit was scheduled to regenerate.
If your brine tank, the one that holds the salt, is sitting full of water and the floor is wet, that combination usually means the injector system is clogged and the unit is not drawing brine properly. Excess water keeps building until it finds the overflow. Again, repairable.
Step 4: Inspect the Valve-to-Tank Joint and the Brine Tank Connection
Now look higher. A leak seeping from the junction where the control head threads onto the resin tank often runs down the tank wall unseen, and you only notice it once water reaches the base. Run a dry paper towel around that joint while the unit is pressurized. If it comes back wet, you found it.
An O-ring at that joint hardens over time, and a careful retightening or a new O-ring often solves it. However, here is the decision rule that matters: if tightening that connection does not stop the leak, the tank itself is likely cracked, and that moves you into replacement territory.
Also check the brine tank connection, the small tube running between the salt tank and the control head. A loose compression nut there causes a slow drip that dissolves into the salt mess on the floor. While you are in the brine tank, note that softener salt contains insoluble material that settles at the bottom over time and needs periodic cleanout, according to Cargill. A sludge-choked brine tank contributes to the clogged-injector problem from Step 3.
Step 5: Decide Whether a Cracked Tank Means Repair or Replacement
A cracked resin tank is the one bottom leak that ends the unit. The resin tank runs under house pressure all day, every day. If the fiberglass or plastic shell splits, usually from age, a freeze event, or a manufacturing flaw finally giving out, there is no patch that holds. You replace the tank and media, or more often the whole softener, because on an older unit a new tank plus resin costs enough that a full replacement makes more sense.
Suppose a homeowner in a 1960s St. Louis Park rambler finds the original builder-era softener leaking from the bottom underneath, with a visible hairline split low on the resin tank. In that scenario, repair money is wasted money. The valve, seals, and resin on a unit that old are all near end of life too. Replacement is the honest answer, and sizing the new unit correctly matters here, because Minneapolis-area homes see hardness of 15 or more grains per gallon from mineral-heavy Mississippi River water, according to HomeWater 101. Across 49 measured Minnesota cities, the median hardness is 9.5 grains per gallon, and 61 percent of cities fall in the hard or very hard range, according to USGS Water Science School. An undersized replacement in this water fails early.
By contrast, a seal pack, an injector cleaning, or a drain line fix on a unit under roughly ten years old is usually worth doing. Be wary of anyone who jumps straight to replacement without showing you the cracked tank or the failed part. A specialist in softener repair should be able to point at the failure.
Step 6: Know What Can Wait Until Morning
With the unit in bypass, unplugged, and the floor dry, nearly every softener leak can wait until morning. You have water to the house. The leak source is isolated. Nothing is getting worse overnight.
Call sooner rather than later in these cases:
- The leak did not stop in bypass. That suggests a supply plumbing leak, not the softener, and live plumbing leaks cause real water damage.
- You cannot isolate the unit at all. A seized bypass valve and no inlet shutoffs means the softener stays pressurized. Bypass valve repair is its own fix, and it is worth doing even before the leak repair.
- Water is reaching finished flooring, stored belongings, or the water heater. Move what you can and keep toweling.
One honest limitation: this guide helps you find the source, but rebuilding a control valve, replacing a piston and seal pack, or swapping a tank involves pressurized fittings and, on older Minneapolis homes, galvanized or corroded plumbing that does not forgive mistakes. If you are not comfortable opening the valve body, hand it off. A tech will also know tricks you will not find on a parts diagram, like catching the backflow that pours out of an upward-running drain line the moment the end cap comes off.
What This Water Softener Leak Is Telling You About the System
Most water softener leaks on units past 15 years old are the system's way of announcing retirement. Seals, injectors, and drain lines are fixable one at a time, but when they start failing in sequence on an original or never-replaced unit, the math shifts toward softener replacement. That is the pattern across older Twin Cities housing stock, where plenty of basements still hold the softener that came with the house.
If you do end up replacing, there is a small silver lining to shopping in 2026. Newer high-efficiency softeners can be programmed to use less salt and water than the old timer-based units, according to Culligan, and that matters in Minnesota, where 75 percent of residents rely on groundwater that is vulnerable to chloride contamination linked partly to softener discharge, according to the Minnesota Pollution Control Agency. Whether you own a Culligan, a Kenmore, or a no-name builder unit, the diagnostic steps above are the same; the parts differ, but water softener leaking from a drain line, an overflow, or a tank joint tells the same story on every brand, including when you are weighing Culligan water softener repair against a fresh install.
Tonight, though, the job is simpler. Bypass the unit, dry the floor, trace the water uphill, and sleep on it. The puddle looks worse than it is.
If you need water softener installation, Twin Cities Water Softening can help.
Prefer to talk it through? Call +16512171659 — a quick call is usually the fastest way to get a straight answer for your situation.